Spring
High Contrast
|

|
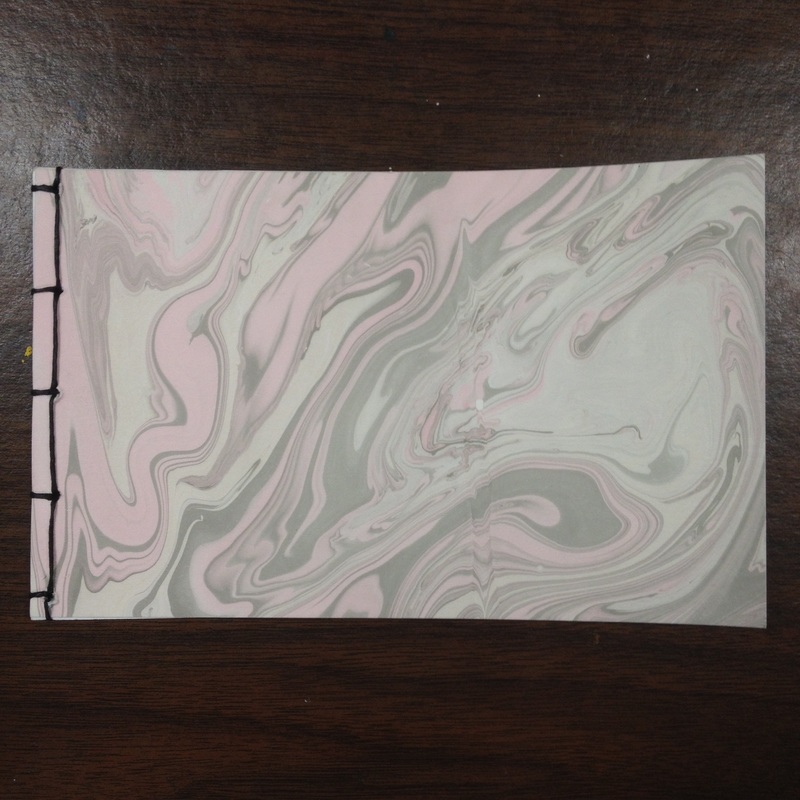
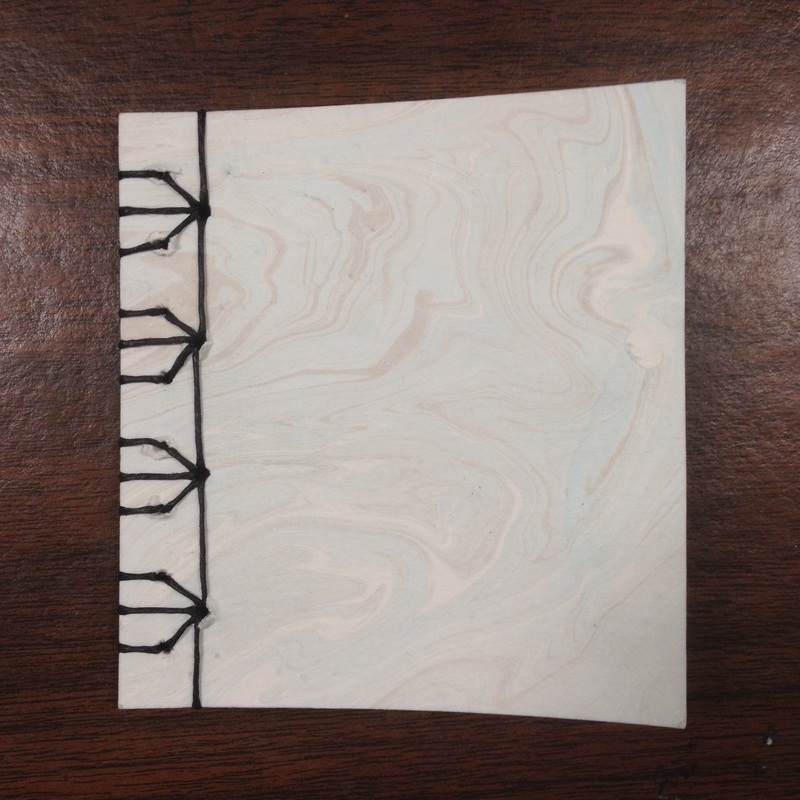
book bindinG
We worked on creating books. We used our previously marbled paper, cut sheets for the inside, then bound it all together using two different stiches.
|
|
UNC Greensboro Art Day
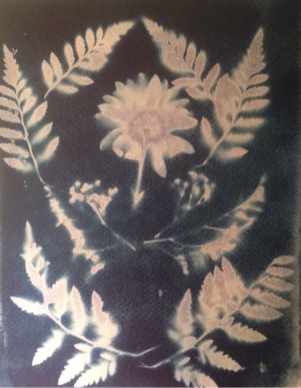
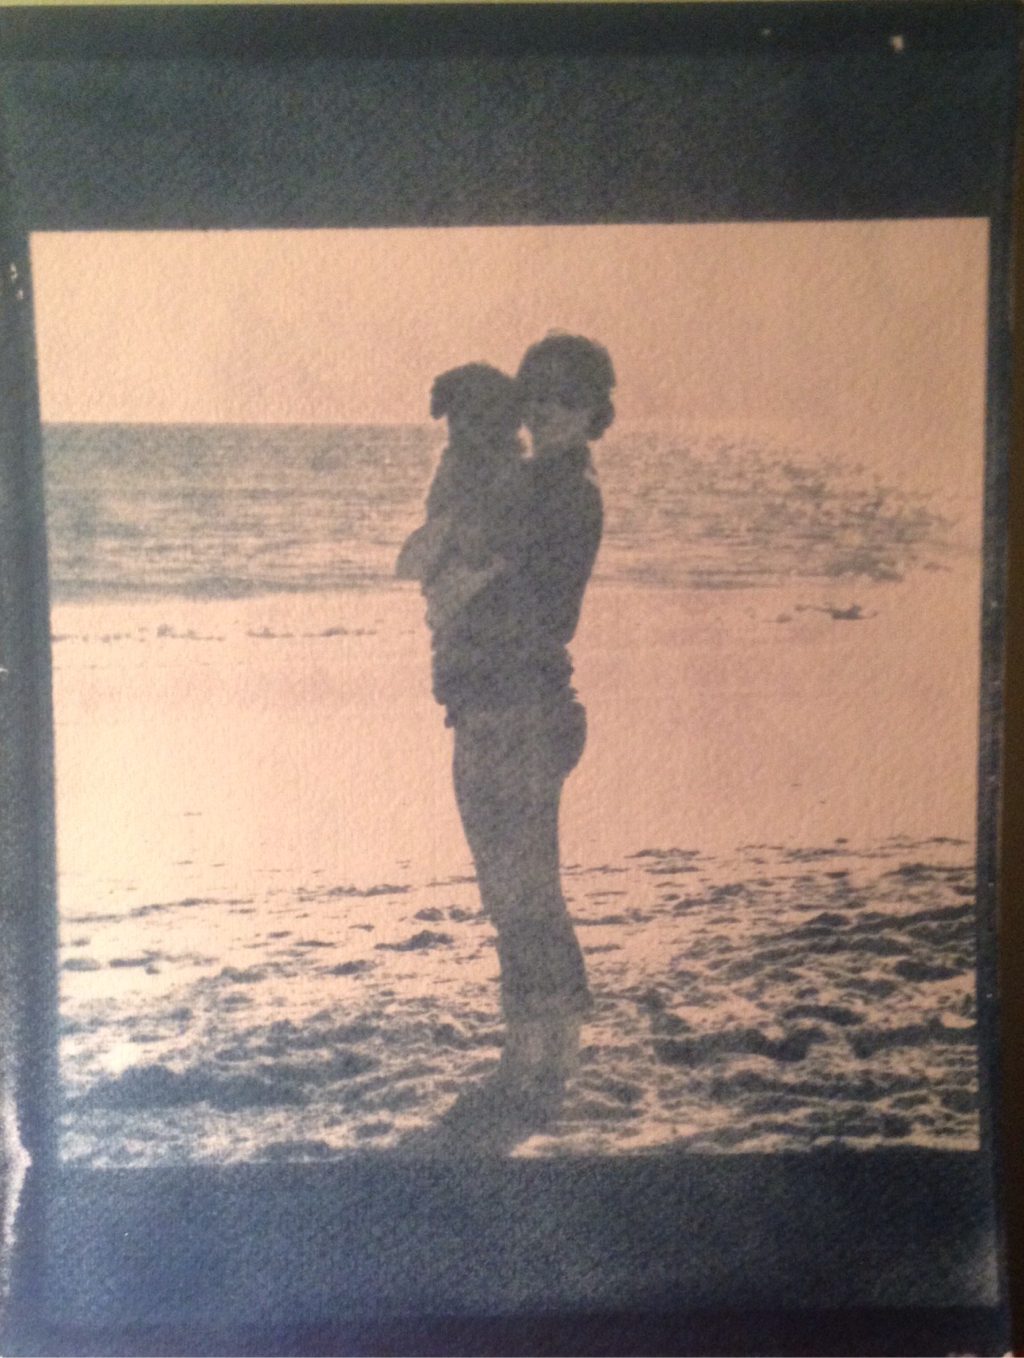
We travelled to UNC Greensboro to attend their yearly art day. While there, I was able to take and alternative photographic process/cyanotype class. In the class, we coated paper with a developing dye, placed negatives or actual living plants on the paper in a picture frame, and then exposed the whole thing to UV light. After ten minutes of exposure, we removed the paper and then rinsed it in cold water to remove the coat of dye. The results are the two blue images. I was also able to take a collage class. In this class, we were given a variety of printed materials and told to create a collage. The result of mine is the horse.
|

|
|
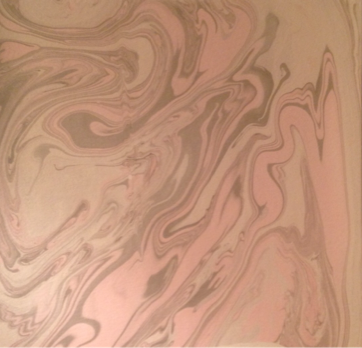
Assignment #11: Marbling
We used a kit of "Suminagashi" to create marbled effects on paper. The process involved filling a container with water and then dropping dye into the water either with a paintbrush or onto specifically designed paper dots. After adding the dye, currents were created in the water which caused the dye to swirl around creating the image below.
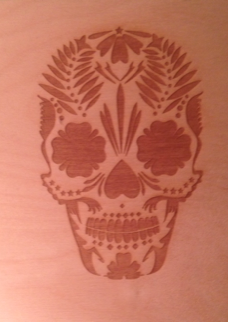
Assignment #10: ECU Art DepartMent
As a class, we visited East Carolina University for an art day. During our day, we toured half of the ECU Art Department; we were only able to see half because there are many programs and areas to explore. I was able to listen in on a ceramics class with a guest speaker well know for making beautiful ceramics. We also experienced graphic design, a Shape Lab with 3D printers, textiles, and bronz casting. My favorite, however, was the basic intro class. In this class they were working on a sculpting project that involved creating 5 sculptures that started as one object and then transitioned into another object(they were changing between everyday objects and animals). In the image below, you can see a skull cut into wood using a laser; this was made during our time in the shape lab..
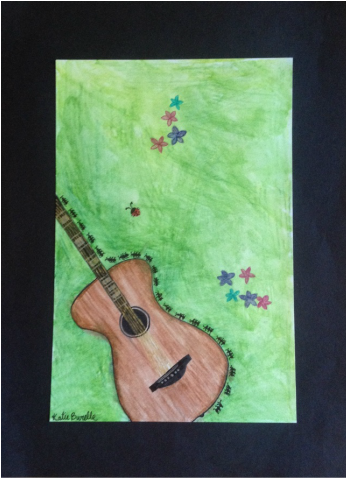
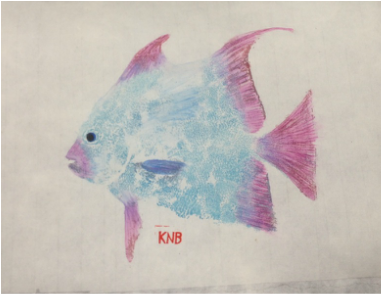
Project #1: MOdified Gyotaku
A rubber fish was used to create this print. Dye was applied to the fish, and then paper was pressed on top. Details were added using watercolor pencils. After this was complete, the print was backed. Tertiary colors were used.
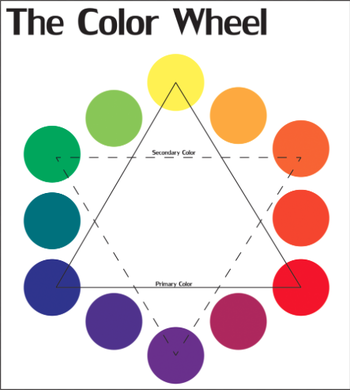
Assignment #8: Color Wheels and Schemes
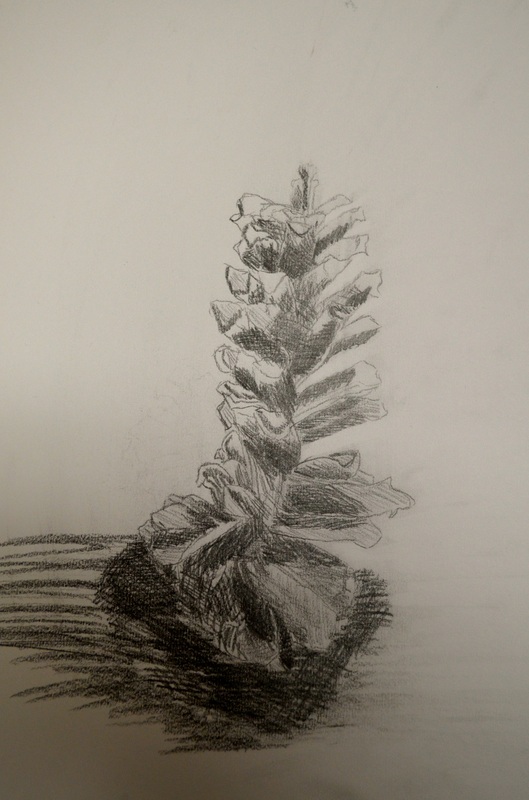
Assignment #7: cross hatching & hatching
Hatching is the use of fine, parallel lines drawn closely together, often rapidly drawn, to create the illusion of shade or texture in a drawing. Distance may be varied to allow more or less white space between the lines, or lineweight varied to thicken the darkness of the lines. Often used in pencil sketching and in pen-and-ink drawing.
Crosshatching is the drawing of two layers of hatching at right-angles to create a mesh-like pattern. Multiple layers in varying directions can be used to create textures.
Crosshatching is the drawing of two layers of hatching at right-angles to create a mesh-like pattern. Multiple layers in varying directions can be used to create textures.
Assignment #5: Elements of Art
Suddenly Very Funny Little Turtles Sang Cheerfully
Shape Value Form Line Texture Space Color
Shape Value Form Line Texture Space Color
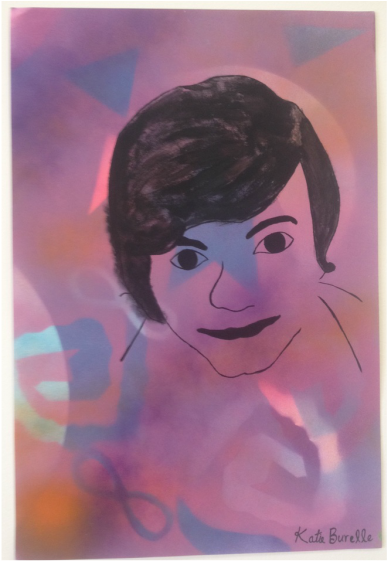
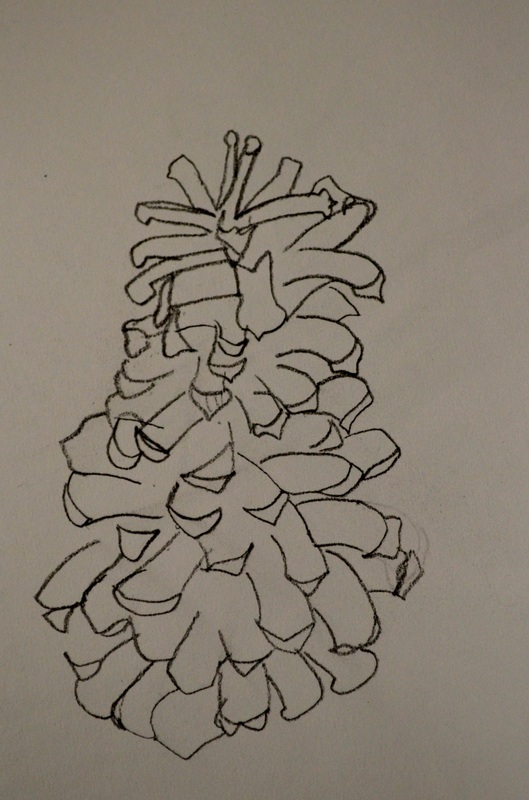
Assignment #4: modified contour
A modified contour drawing involves an artist focusing on the edges of an object and drawing while only glancing at their page. The idea is for the artist to only look at the page for about 10% of the time.
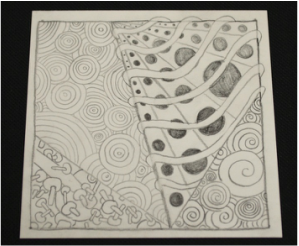
Assignment #1: Zentangle
Zentangle is an easy to learn method of creating beautiful images from repetitive patterns. It is a fascinating new art form that is fun and relaxing. It increases focus and creativity. Zentangle provides artistic satisfaction and an increased sense of personal well being. It is often used as a warm up. Zentangle combines lines, patterns, textures, sizes, and shapes.
|

|
